开始 使用
开始使用 MicroBlocks 很简单!只需遵循下述简单的步骤。
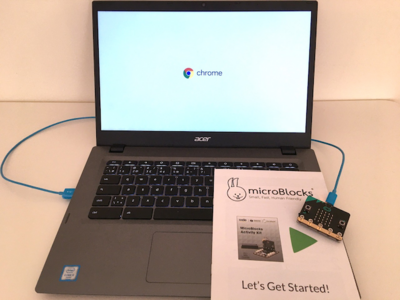
你需要一台有 USB 接口的电脑(不支持 iPad 或者安卓平板)、一根 USB 连接线和一块 micro:bit 主板。你可以在 Chrome 或 Edge 浏览器中运行 MicroBlocks,或者下载一个独立的应用程序,用于 Chromebook、Windows、macOS 或 Linux。
电脑设置
如何设置你的电脑,以使用 MicroBlocks。
无需设置!
不需要安装任何软件就可以在 Chrome 或 Edge 浏览器中运行 MicroBlocks;只需在页面顶部导航栏中点击「运行 MicroBlocks」即可。

在浏览器中运行 MicroBlocks,无需安装传统应用程序,无需专业技术人员协助。
MicroBlocks 也可以在其他浏览器中运行,但只有在台式机、笔记本电脑或 Chromebook 电脑(非移动设备)上的 Chrome 或 Edge 浏览器中运行时,它才能与主板连接。
可选方法:把 MicroBlocks 放在你的桌面上
为方便起见,你可以将 MicroBlocks 另存为 Web App(渐进式网络应用程序),像运行传统应用程序一样通过快捷方式图标启动。一旦保存,MicroBlocks Web App 甚至可以离线运行。
保存方法:首先在浏览器中运行 MicroBlocks ,然后点击浏览器 URL 栏右上方的按钮,见下图。
Chrome:

Edge:
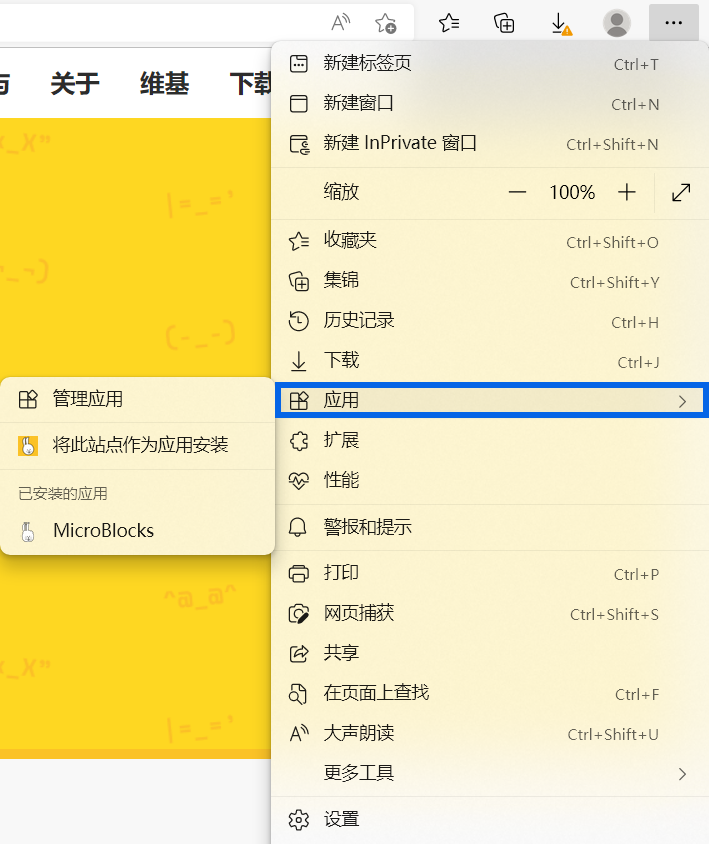
这样即可安装 Web App,并在新窗口中打开 MicroBlocks。这种操作还会在桌面上添加快捷方式,以便日后启动。
Chromebook 设置
进入下载页面,点击「下载」按钮。 如果你使用的是 Chromebook,就会进入 Chrome 网上应用商店的 MicroBlocks 页面。
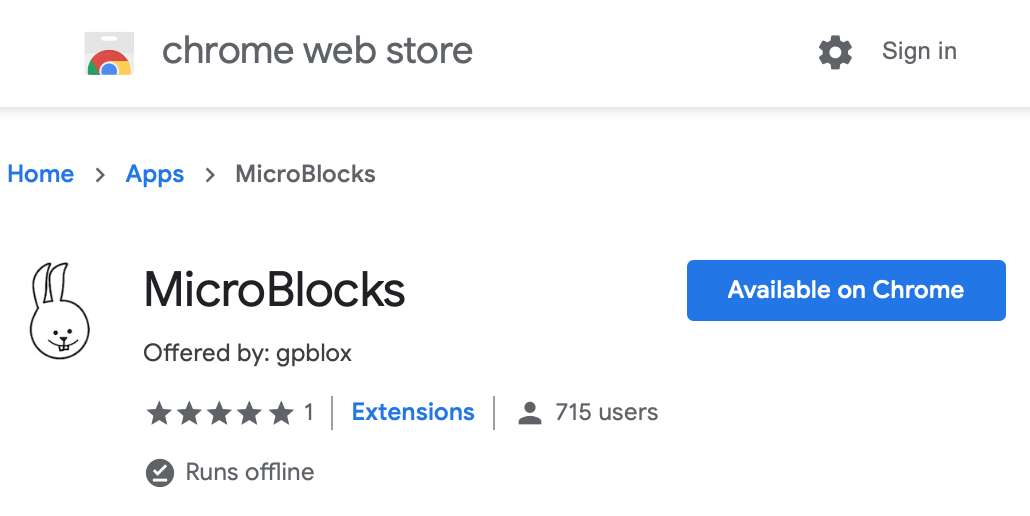
点击「添加到 Chrome」按钮,安装 MicroBlocks Chrome 应用程序。
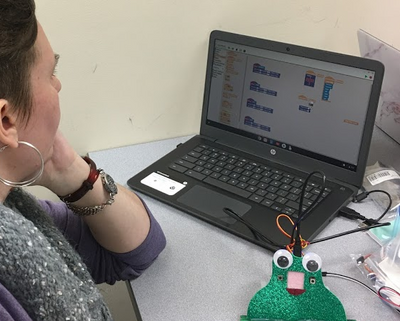
如果要运行,请打开 Chromebook 应用启动器,再点击 MicroBlocks 兔子图标。
你可以将 MicroBlocks 应用固定下来,以方便之后打开。
Windows设置
进入下载页面,点击「下载」按钮。
在 Chrome 或 Edge 浏览器中,会弹出警告提示下载的文件可能会损害你的电脑。
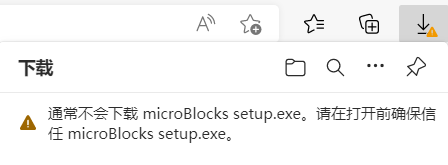
点击菜单并选择「保留」。
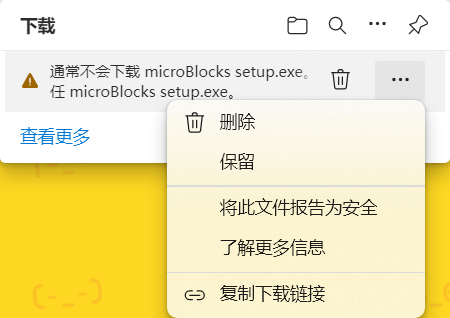
然后会弹出另一个警告,点击「显示详细信息」,并选择「依然保留」。
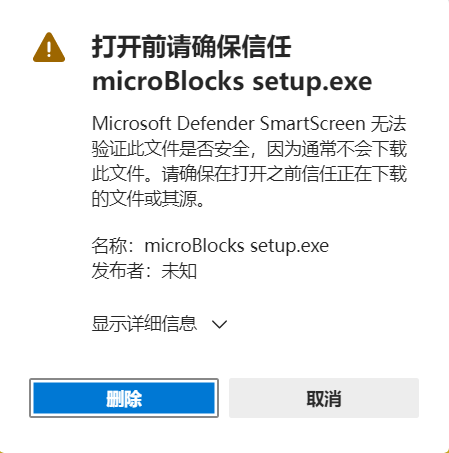
打开保存的文件,microBlocks setup.exe。
打开安装程序,会再有一个警告提示。
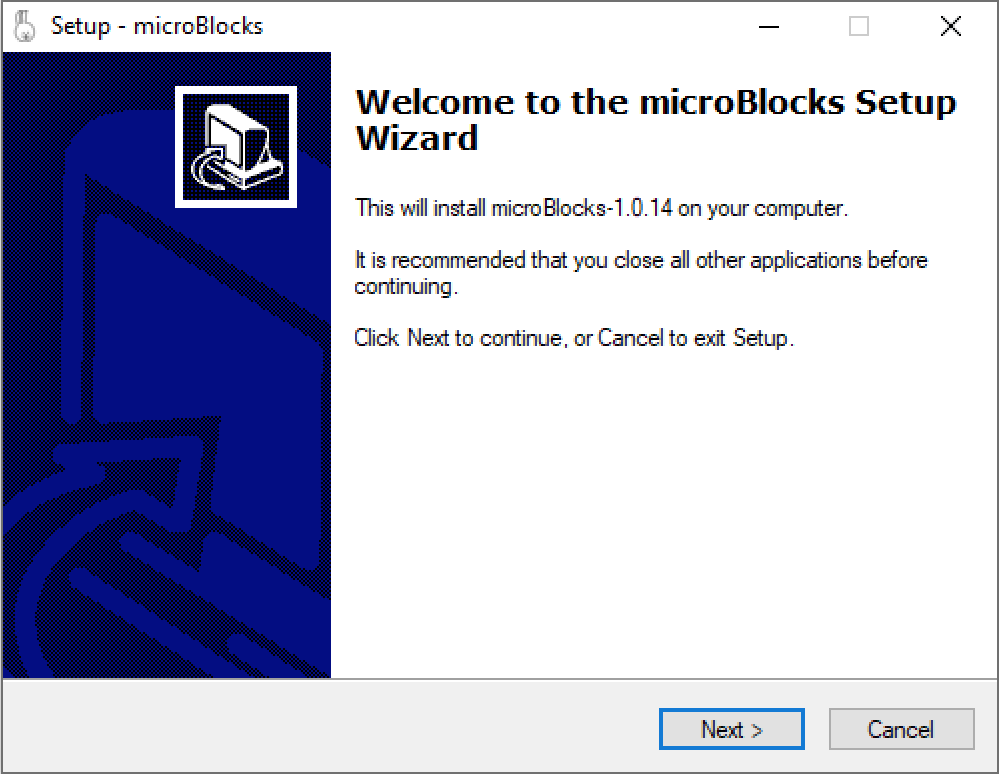
点击几次「下一步」来完成安装。
安装程序完成后将启动 MicroBlocks。它还将在桌面上添加一个快捷方式图标,以便你之后运行 MicroBlocks。
macOS 设置
进入下载页面,点击「下载」按钮
打开电脑上的「下载」文件夹。双击 MicroBlocks.app.zip,将其解压。
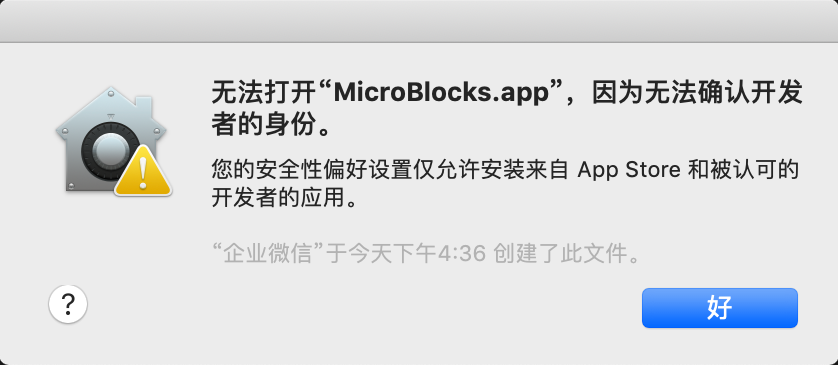
右键点击 MicroBlocks.app,并选择「打开」。将弹出对话框告知你,该应用无法打开。
疑难解答
如果你不能打开 MicroBlocks.app,从苹果菜单中打开系统偏好设置,并选择「安全性与隐私」。在「通用」选项卡中,确保将「允许从以下位置下载的 App」设置为「App Store 和被认可的开发者」。
Linux 设置
进入下载页面,点击「下载」按钮。
浏览器会让你选择保存文件或用软件安装打开文件。选择「打开」。
单击「安装」按钮。在提示时输入根密码,然后点击「验证」。
第一次安装 MicroBlocks 时,你必须重新启动。安装程序将用户添加到串行端口的访问组中,但这一变更在下次重启前不会生效。
疑难解答
如果软件安装不成功,请点击「下载」按钮,保存文件(请勿直接运行)。
打开一个终端并运行(64 位):
sudo dpkg -i ~/Downloads/ublocks-amd64.deb
或(32 位):
sudo dpkg -i ~/Downloads/ublocks-i386.deb
如果 MicroBlocks 没有连接到你的主板上,确保你在运行安装程序后重新启动。然后运行:
groups
来验证你是否在 dialout 和 tty 组中。
要验证 Linux 是否检测到你的主板,确保主板已经连接,然后运行:
ls /dev | grep ACM
你应该会看到主板有一个条目,通常是 ttyACM0。
主板设置
如何为 MicroBlocks 设置你的主板。
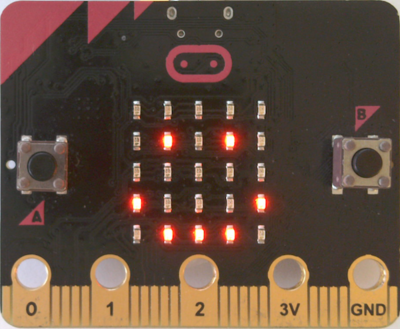
micro:bit(V1 或 V2)
你需要将 micro:bit 主板通过 USB 数据线连接到电脑。
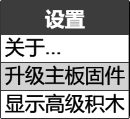
在顶部菜单栏点击「设置」按钮,选择「升级主板固件」。
在安装固件时,黄色 LED 会闪烁,过程会持续几秒钟。
如果你正在运行 MicroBlocks 应用程序,MicroBlocks 将在完成后自动连接到 micro:bit 主板。
详细步骤请看此视频。
浏览器中的更多步骤
如果你在浏览器或者在 Web App 上运行 MicroBlocks,你需要设置浏览器。(出于安全性考虑,浏览器无法在不询问用户的情况下主动访问主板的 USB 驱动器。)
首先,从菜单中选择主板类型。
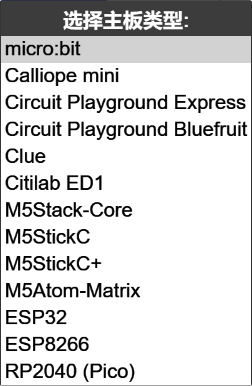
此时会出现一个对话框,阅读说明,然后点击「确定」。

在浏览器的保存对话框中,选择「MICROBIT 驱动器」,然后点击「保存」按钮。
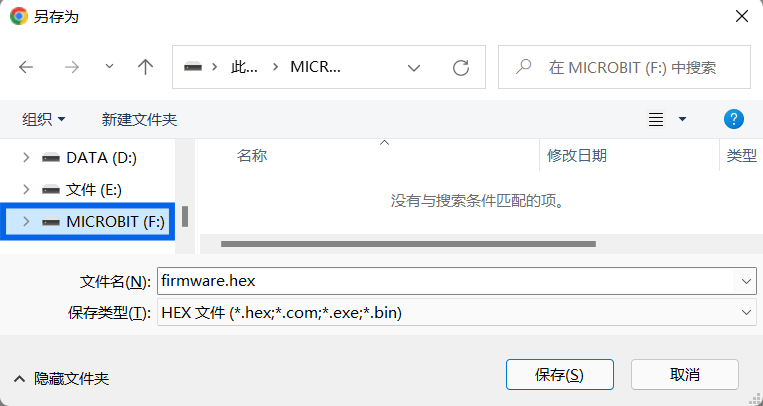
在安装固件的过程中,你会看到主板上的橙色指示灯闪烁几次。同时,你会在屏幕上看到进度指示。

完成后,点击 USB 图标连接到主板。
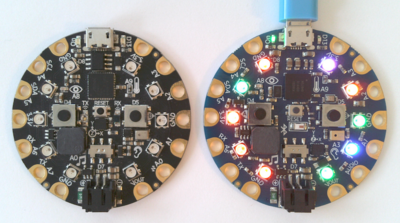
Circuit Playground Express or Bluefruit
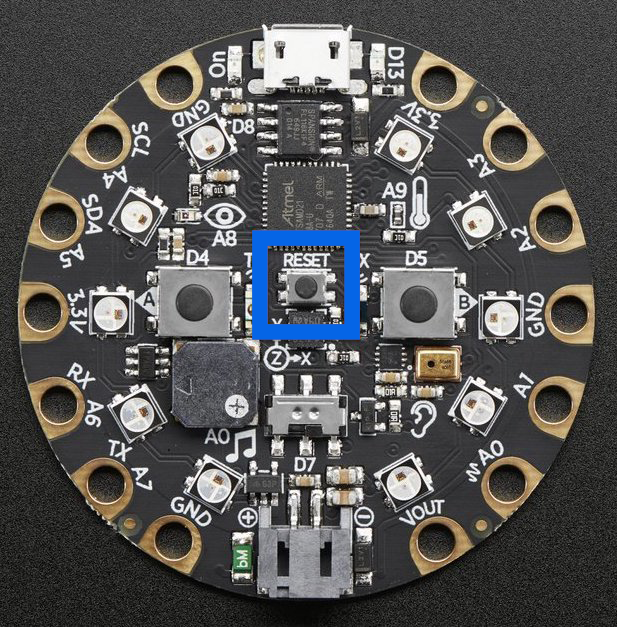
Connect the board to your computer. Quickly click the small reset button in the center of the board twice.
The LED's will turn red for a few seconds, then turn green and stay green.
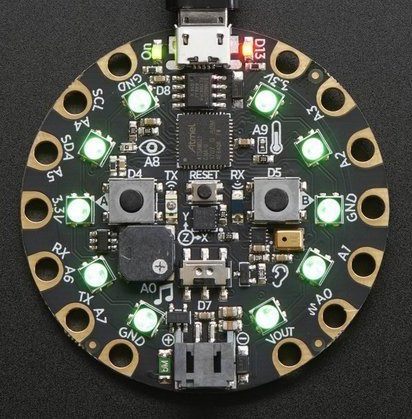
If they don't turn green the first time, try again.
From the MicroBlocks menu (gear icon), select update firmware on board.

Firmware installation takes just a few seconds. If you are running the MicroBlocks app, MicroBlocks will connect to the board automatically when it is done.
This video shows these steps.
Extra Steps in Browser
If you are running MicroBlocks in the browser or as a web app, you need to help the browser. For security reasons, the browser cannot access the board's USB drive without asking the user.
First, select your board type from the menu.
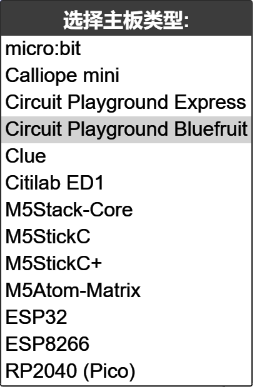
You'll be asked to select the USB drive for the board in the browser's file save dialog.
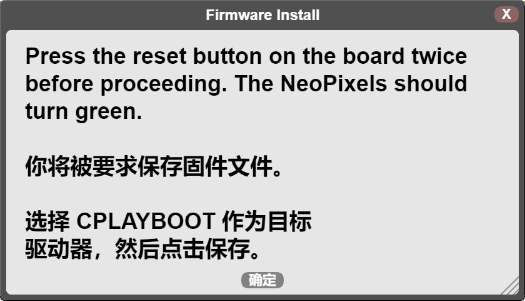
Follow the instructions to save the firmware file on your board. When the file is saved (just a few seconds), click to USB icon to connect to it.

Adafruit Clue
The process for installing firmware on the Clue is identical except that the reset button is on the back of the board.
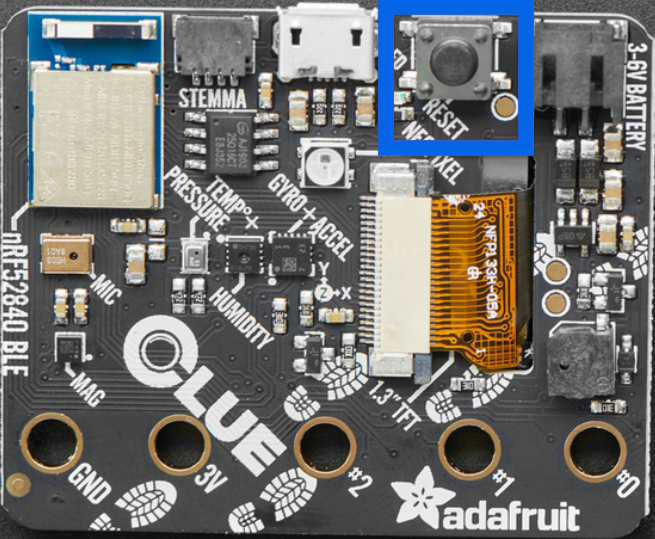
and the Clue has only a single NeoPixel that turns green. (It's on the back of the board just below the USB connector.)
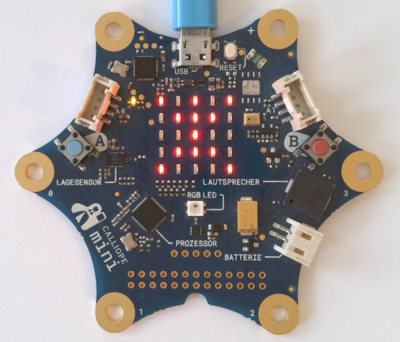
Calliope mini
Connect the board to your computer.
From the MicroBlocks menu (gear icon), select update firmware on board.

The yellow LED will flicker as the firmware is installed. It takes a few seconds.
If you are running the MicroBlocks app, MicroBlocks will connect to the board automatically when it is done.
Extra Steps in Browser
If you are running MicroBlocks in the browser or as a web app, you need to help the browser. (For security reasons, the browser cannot access the board's USB drive without asking the user.)
First, select your board type from the menu.
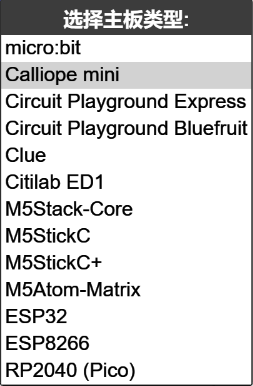
A dialog box will appear. Read the instructions, then click OK.

In the browser's save dialog, select the MINI drive, then click the Save button.
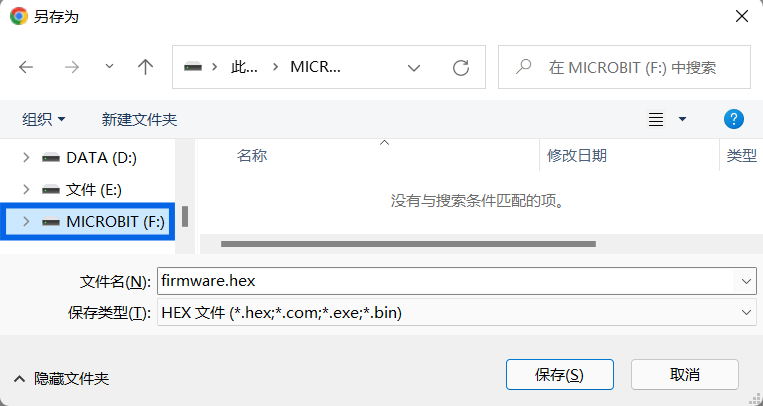
You will see the orange light on the board flicker several times as the firmware is installed. At the same time, you will see a progress indicator on the screen.

When it is done, click the USB icon to connect to the board.
Citilab ED1, M5 Stack, and other ESP32 and ESP8266 Boards
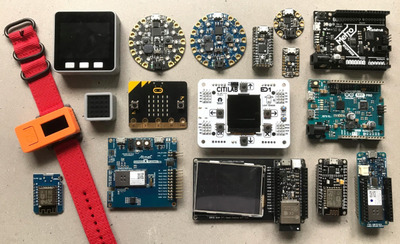
Board setup is similar for the Citilab ED1, M5 Stack, M5 StickC, M5 StickC+, M5 Atom Matrix, and other popular boards based on the ESP32 and ESP8266 such as the NodeMCU and Wemos D1 Mini.
Connect the board to your computer.
From the MicroBlocks menu (gear icon), select update firmware on board.

Select your board type from the menu.
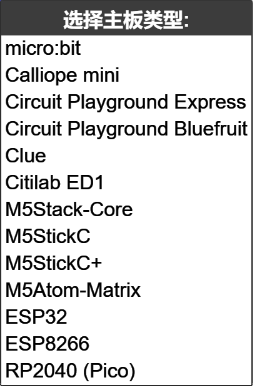
If you are running MicroBlocks in the browser, you will be asked to select the board if it is not already connected.
MicroBlocks will start the firmware install process.
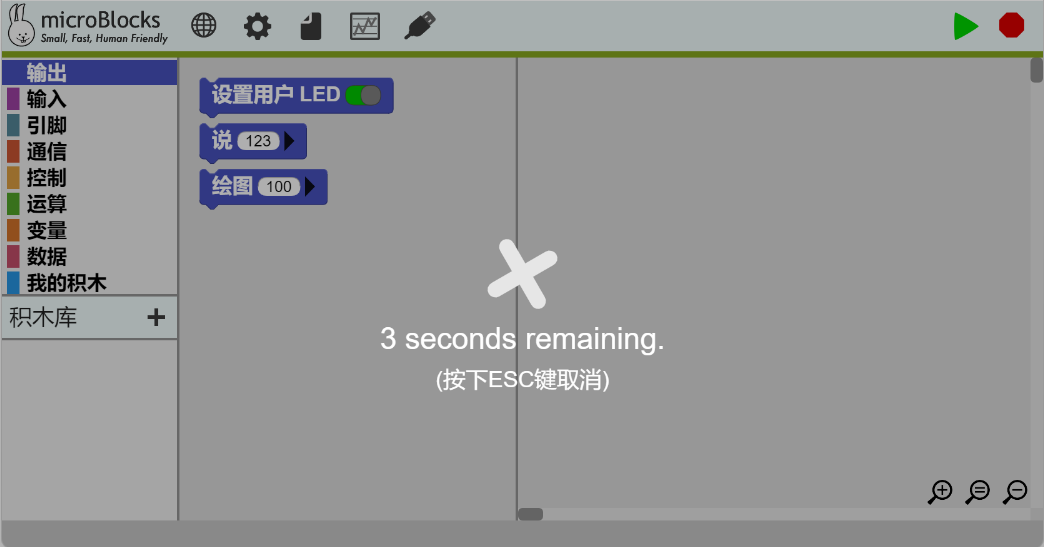
Note: Some ESP boards will connect only if you hold down the Flash or Boot button at the start of the firmware installation process. You can release the button when the progress indicator appears.
Once MicroBlocks has connected the board, you will see a progress indicator as the firmware is installed.
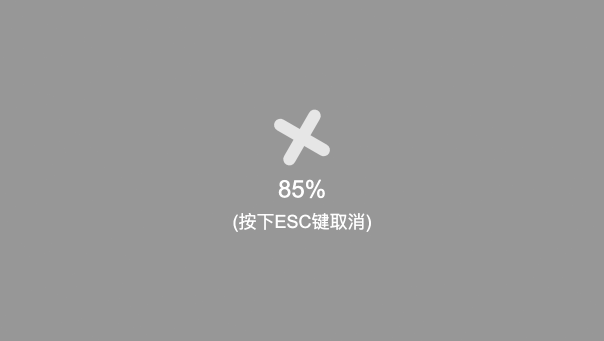
For ESP32 boards, the progress sequence will repeat several times as different parts of the firmware are installed. The firmware installation process can take several minutes.
When the process completes, MicroBlocks should reconnect to the board.
If MicroBlocks fails to reconnect after installation, quit and restart MicroBlocks (when running in the browser, reload the page).
Troubleshooting
Firmware installation on ESP32 and ESP8266 boards can be tricky.
Some boards require you to hold down the Flash or Boot button to start the installation process.
On other boards, firmware installation may fail randomly, not only with MicroBlocks but with other tools as well. You may need to try several times.
It sometimes helps to unplug the board, quit and restart MicroBlocks (or, when running in the browser, reload the page), then plug the board in and try again.
Fortunately, ESP boards work well with MicroBlocks once the firmware is installed.
开始编程!
如何打开 MicroBlocks 编辑器并连接主板。


